
 Be getting the process of creating your own personal cookbook may seem daunting at first, especially if your computer skills are not strong.
However if you just take things step-by-step you’ll be done before you know it.
Here is a step-by-step list of the things you need to accomplish to create your own printed family cookbook.
Step One: Establish Your Account – Creating an account on FamilyCookbookProject.com is fairly straightforward and only takes a few minutes. Answer a few questions and you’re ready to go.
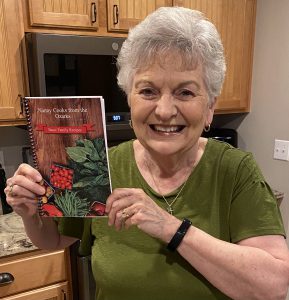
Step Two: Enter Recipes – The first thing you should do once your account is established is to enter some recipes into the system. This will show you how easy it is to type the recipe in. If you have already typed your recipes into a word processing document, like Microsoft Word, you can actually cut and paste your recipes directly into the add a recipe form. You can also add photos to some of the recipes to make them pop off the page.
Step Three: Get Some Help – If you are creating a personal cookbook and not a family cookbook, you can skip this step. To add contributors to your cookbook you need to have their name and email address. Go to the ad a contributor section and enter the name and email there. When you push the blue invite button, they will receive an email message asking them to submit recipes. You can personalize the message you sent them if you wish.
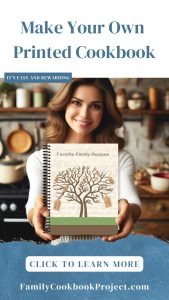
Step Four: Pick A Cookbook Cover – FamilyCookbookProject.com offers more than 50 professionally designed cookbook covers for you to choose from. In the design center, select cookbook cover and choose the cookbook cover that you like best. Don’t worry you can always change your cover up until you place your print order. You can also create you own design and upload it if you wish. (Hint: This can be moved to any step you wish as it can be done at any time! This is also when you will pick your category dividers.
 Step Five: Pick Your Recipe Layout – The recipe layout dictates how all of your recipes will be laid out on the page, including size, tight face and other features. At anytime, you can select a new layout and see how the recipes will look. You can also change the recipes layout for an individual recipe to make it better fit on a page.
Step Six: Consider Adding White Space Filler -You can choose to add helpful hints and white space filler to your cookbook. Helpful hints will appear on the backside of your dividers. White space filler are quotes or graphics that will be added to the bottom of recipes if there is enough white space. They add a nice touch to any cookbook.
Step Seven: Write An Introduction – Many people like to include a forward or dedication in their cookbook. This can be used to write about why the editor created the cookbook, memories of people past, or the general importance of food in the family. Dissection can also be used to think people helped make the cookbook happen. If you choose, you can also leave out this section.
Step Eight: Lock And Edit Your Cookbook – If you have others contributing to your cookbook, you can lock the content so no new recipes are added while you are getting the cookbook ready to be printed. You can download a PDF of your cookbook and see how each page will look. If you see something you want to change, simply go to that recipe in the system, make the change and create a new PDF.
Step Nine: Place Your Print Order – In the Production Center, you can enter how many cookbooks you want to order and the system will provide you with a quote based on the number of pages in your cookbook and the number of color photos. Once your order is placed and paid for, the cookbooks are moved into production and will be shipped directly to you in as little as 2-3 weeks (although around the holidays it get much busier so plan ahead).